Nightmare Frontier Districts and Map Guide
How Nightmare Frontier Districts, procedural nodes, facilities, anomalies, and extraction routing work across the City.
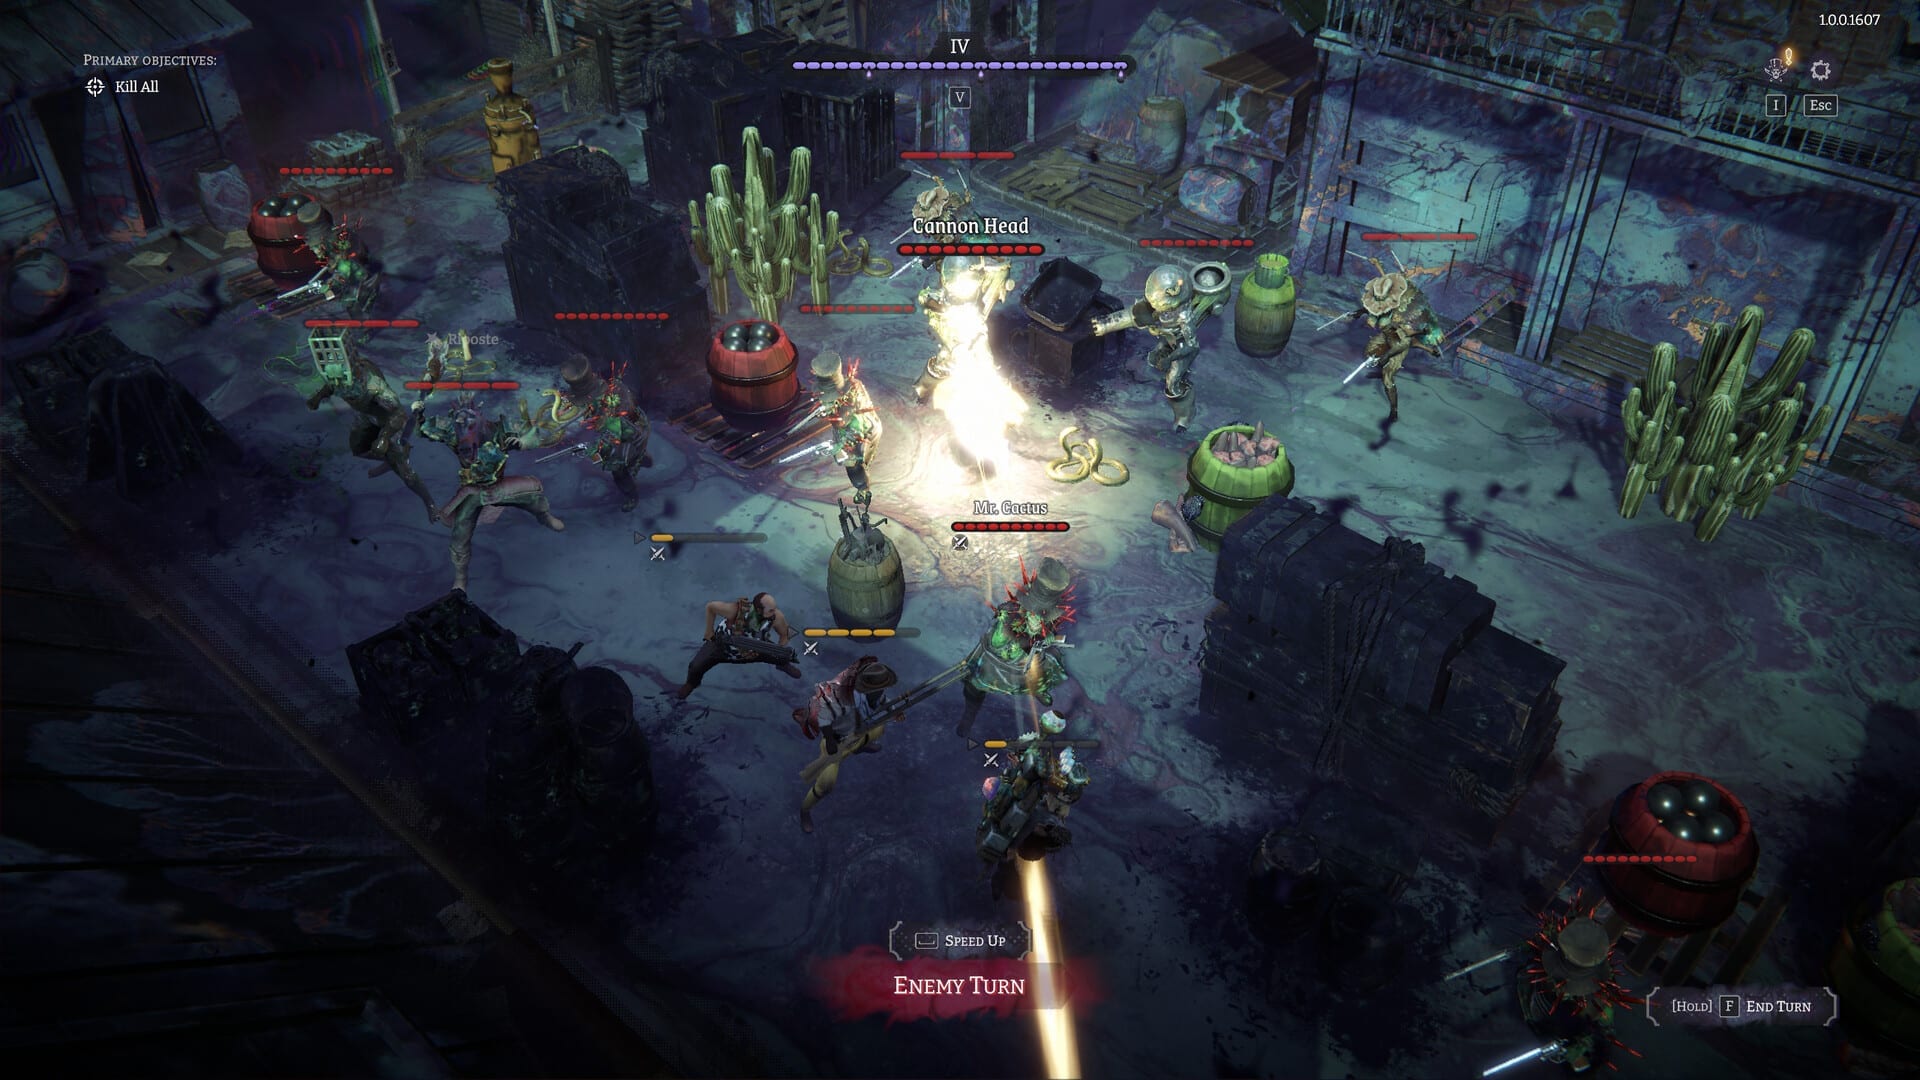
Nightmare Frontier’s City is not a tourist brochure. Districts are procedural graphs: combat nodes, facilities, anomalies, quests, and extraction opportunities wired into an endless nightmare. This page answers How to find productive routes and How to complete District goals without treating every node like destiny.
Mental model
Think graph, not corridor. At each step you are choosing risk, information, and backpack pressure. The correct node is the one that serves today’s raid contract—farm, trophy, or climb—not the shiniest icon.
Node types you should respect
- Combat — gun puzzles; where ricochet and hazards pay rent (Combat & Ricochet)
- Facilities — stabilize, restock, or alter options; often the difference between extract and wipe
- Anomalies — rule changers; read before greed
- Quests / objectives — 1.0 highlights eight unique tactical objectives; treat them as constrained exams
- Deeper paths — raise Nightmare Level (Nightmare Levels)
Routing templates
Farm route: short loop, correct Fear, extract on parts (How to get trophies).
Climb route: controlled depth with written exit (Beat Nightmare Levels).
Objective route: accept constraints, bring utility (Crew Builds).
Four Districts, endless nightmares
1.0’s marketed package includes four Districts. Do not wait for a perfect static map guide—train transferable routing skills. Use the Walkthrough for campaign phases and Extraction Strategy for leave conditions.
Coastal Docks after 1.0
The Docks district received a 1.0 art overhaul and Overboard rules: shoving any unit into the open sea ends them instantly. Treat coastal boards as vertical exams—read Docks & Overboard before you practice shove greed.
Fear ecology on the map
The map does not exist apart from Fears. Your roster decides which Dreadweavers grade each combat node (Fears, Dreadweavers, Raid Planner).
Practical habits
- Spot an exit early
- Name the raid goal before the second node
- Skip optional dense fights once the goal is met
- Treat anomalies as text, not loot piñatas
- Return to the Hideout and convert the route into unlocks
Maps in Nightmare Frontier are conversations with greed. Learn to hang up.
Node priority matrix
High priority: nodes that finish the raid contract or stabilize a wounded crew.
Medium: nodes that efficiently raise value without jumping two Nightmare Levels.
Low: spectacle fights with unclear rewards and obvious surround terrain.
If you cannot classify a node in five seconds, it is low priority. Ambiguity is how the City upsells wipes. Combine this matrix with Fear planning in the Raid Planner and leave rules in Extraction Strategy.
Frequently Asked Questions
Quick answers drawn from how Nightmare Frontier actually plays.
Are maps handcrafted linear levels?
Districts are infinite and randomly generated with nodes for combat, facilities, anomalies, quests, and more.
How many Districts are in 1.0?
The 1.0 feature set highlights four Districts wrapped in endless procedural nightmares.
What should I look for on a route?
Early extraction options, facilities that stabilize the crew, and nodes that match your Fear/material goal.
Do deeper nodes always mean better loot?
Deeper pushes raise Nightmare Level and loot value, but also wipe risk. Depth is a wager.